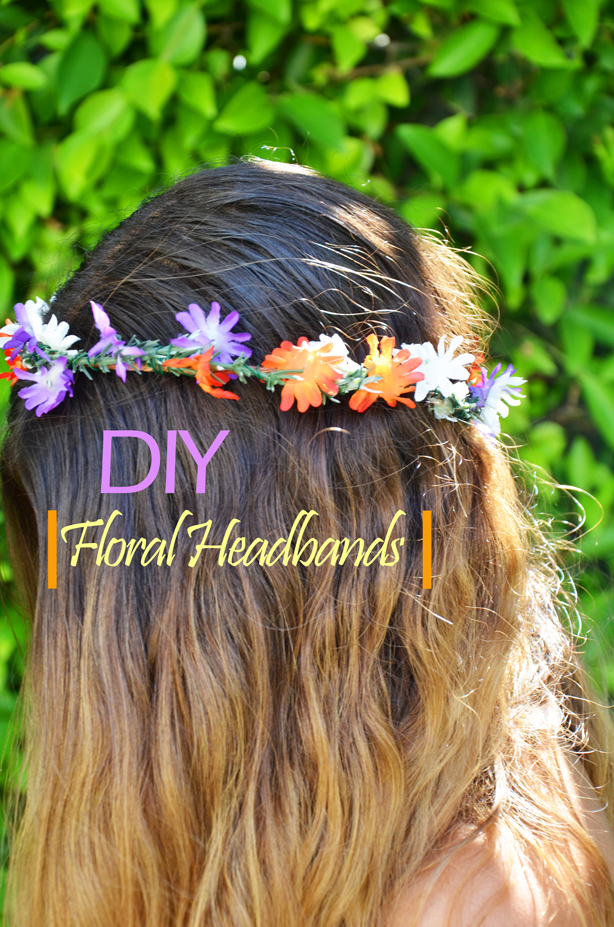
For those who are avid Fashionlaine followers and keep up with my blog and/or Instagram, there is one thing evident about me– I LOVE floral headbands. I mean… in my first ever post I was wearing a floral headband. If that doesn’t show my love for it, I don’t know what does. So it was only a matter of time that I learned to invest my money into making my own florals. And needless to say, it was about time I got down to it and showed all of you how to make them yourselves too. So below my Fashionlainers, I give you the six easy and afforable steps to weaving your way into being your own floral goddess.

STEP 1: Round up all the materials needed for your floral success. You can get any of these supplies at your local arts and crafts store, a Michaels or Joann’s in LA sufficed. You’ll need fake or real flowers (I used fake because I thought it would be easier to work with and so I could keep the headbands and wear them again), heavy rustic floral wire, thin floral wire (green), wire cutters/ pliers, and floral tape (optional).
STEP 2: Create the base of your headband/ crown with the rustic floral wire. Measure the wire on your head and make it a little bigger so that you allow the headband to lay loose on your head and so that they it will have a chance to breathe once the flowers are on them.
STEP 3: Lay out the framework for your headband, setting up the pattern of the flowers of how you are going to want them to look like.
STEP 4: Use your wire cutters to start cutting pieces of wire to wrap around the crown of the headband frame.
STEP 5: Slowly start wrapping the florals with the wire to the crown base, continuing to wrap the flowers until you get around the whole crown.
STEP 6: Once all stems and flowers have been wired, you’re done! SIMPLE AS THAT!